
Mastering Your Insta360 X3: Tips for the Best 360 Photo and Video Content
Sep 29, 2022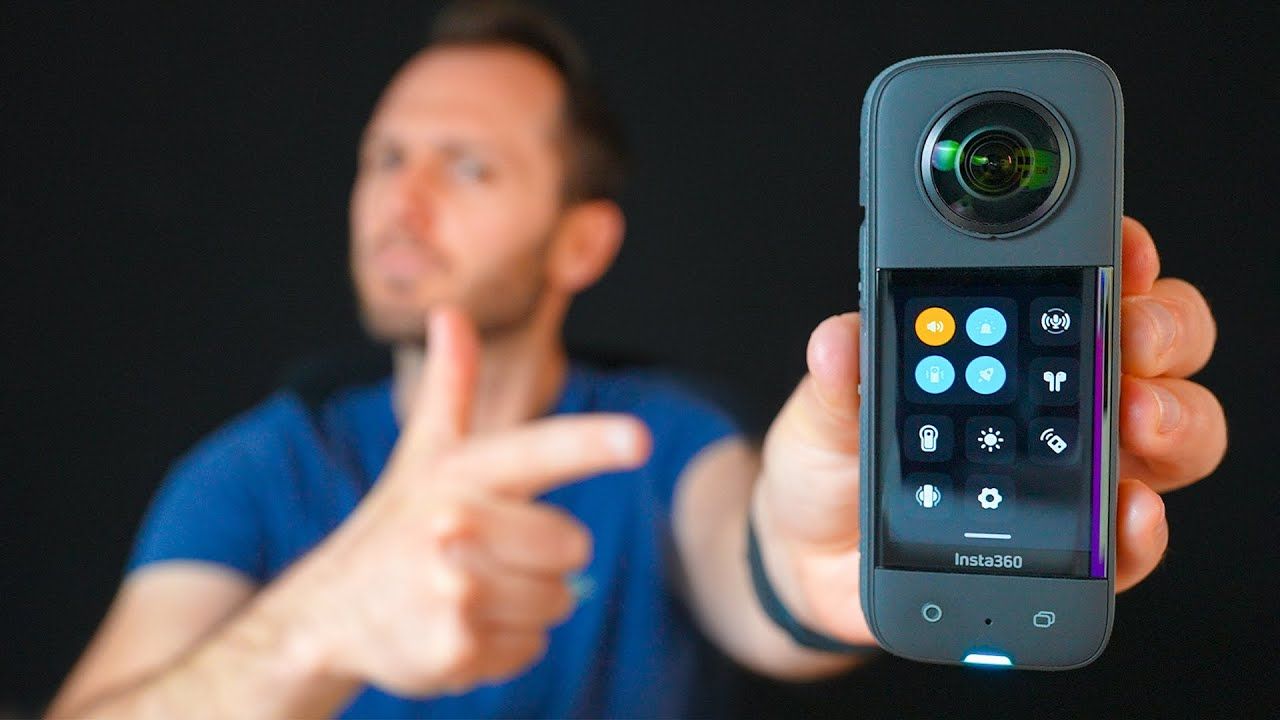
In this guide, you'll discover the best shooting modes and settings for the Insta360 X3 to ensure you capture stunning 360 photos and videos.
Buttons & Physical Features
Camera Body Overview
- Record Button: Press the bottom-left button to record a 360 video or take a photo.
- Lens Button: The bottom-right button switches between the 360 view, single lens mode facing towards you, and single lens mode facing away from you.
- Quick Settings Button: Located next to the power button, it provides quick access to your favorite settings. Note the small speaker hole near this button.
- Preview Screen: Change perspectives by pressing the bottom-right button to switch from the forward to the back view. Hold the button to switch to a 360 perspective for a comprehensive preview of your shot.

Key Settings
General Operational Settings
Swipe down from the top of the screen to access:
- Volume Setting: Adjust to your preference to avoid drawing attention.
- Indicator Light: Turn off for discreet night shooting or keep on for visual recording confirmation.
- Vibration: Enable for tactile feedback when changing settings.
- Quick Capture: Automatically starts recording when pressing the record button, even when the camera is off. Disable if accidental recordings are an issue.
- Audio Settings: Choose from Direction Focus, Wind Noise Reduction, or Stereo based on your shooting environment.
- AirPods Button: Connect AirPods for sound recording or voice control.
- Dive Case Mode: Enable when using a dive case.
- Screen Brightness: Adjust according to lighting conditions.
- Bluetooth Remote & Lens Guards: Connect and configure as needed.
- Firmware & USB Mode: Check for updates via the Insta360 mobile app and choose the appropriate USB mode when connecting to a computer.
- Bluetooth Wake-Up & Voice Control: Enable Bluetooth wake-up for remote activation; voice control is optional.
- Anti-Flicker: Adjust for low-light situations to reduce flicker.
- Video Bitrate & Sharpness: Set to high for quality, and experiment with sharpness levels to suit your preference.
- External Mic Gain: Adjust when using an external microphone.
- Auto Sleep & Power Off: Configure to save battery life during inactivity.
- SD Card & Customize Button: Format the SD card in-camera and customize button functions to your liking.
- Gyro Calibration: Ensure accurate horizon detection by calibrating the gyroscope.

Shooting Modes
360 Shooting Modes
- Video & Active HDR: Use Active HDR for outdoor shots with ample light; switch to regular 360 video in low-light conditions.
- Time Lapse: Capture 8K time-lapses quickly, with automatic file combination.
- Time Shift & Bullet Time: Use Bullet Time for high-frame-rate effects; avoid Time Shift in favor of post-production editing.
- Loop Recording: Ideal for capturing spontaneous moments without wasting storage.
- Starlapse & Burst: Use Starlapse for low-light time-lapses and Burst for action shots.

HDR Photo Modes
- Pure Shot Mode: Best for high-quality photos (72 megapixels); ideal for virtual tours.
- HDR Photo Mode: Suitable for everyday snapshots (18 megapixels) with HDR technique.
Single-Lens Shooting
- Standard Video & Photo, Loop Recording: Similar to 360 modes.
- Me Mode: Perfect for stabilized vlogs with a selfie stick, capturing your surroundings effortlessly.
Exposure Settings
Configuring Exposure
Swipe from the right-hand side of the screen to access the exposure menu. Adjust settings based on your chosen mode to optimize quality.
Essential Settings
- Resolution & Frame Rate: Ensure maximum quality by setting the appropriate resolution and frame rate.
- Self-Timer & Time-Lapse: Use a three-second self-timer for photos and set 8K for time-lapses.
- Bullet Time Mode: Choose between 3K 180 or 4K 120 based on preference.
Presets
Optimizing Auto Exposure
- Color Profiles: Choose Vivid for the best colors without post-production, or Standard/Log for specific needs.
- Isolated Exposure Mode: Useful for scenes with varying brightness levels.
- Quick Settings & Presets: Access and customize exposure presets for different shooting scenarios.
Gallery
- Access & Manage Shots: Swipe left to view shots, tap to play videos, and delete unwanted shots efficiently.

Happy 360ing!
Ben Claremont
Full YouTube Video. 👇
Blog Author
